Planing the scene
After a talk with a client, we agreed that scene needs to be a promo for the upcoming Valentine’s Day. It also need to show their two signature products – jewelry Lightkeeper and Butterfly.
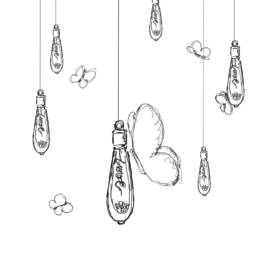
Since they have Lightkeeper version with filament in the shape of the “Love” word, I decided to use that one. I quickly sketch my idea for the scene and show it to the client and he loved it. So now it was time to build the models and scene in Blender.
Building the Lightkeeper
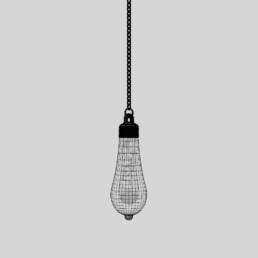
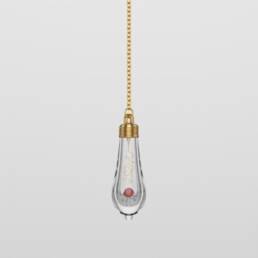
Luckily I have already built Lightkeeper piece for another two projects. (Christmas scene and Edison Bulb) and I would only need to modify filament and metal “screw” top attached to the chain.
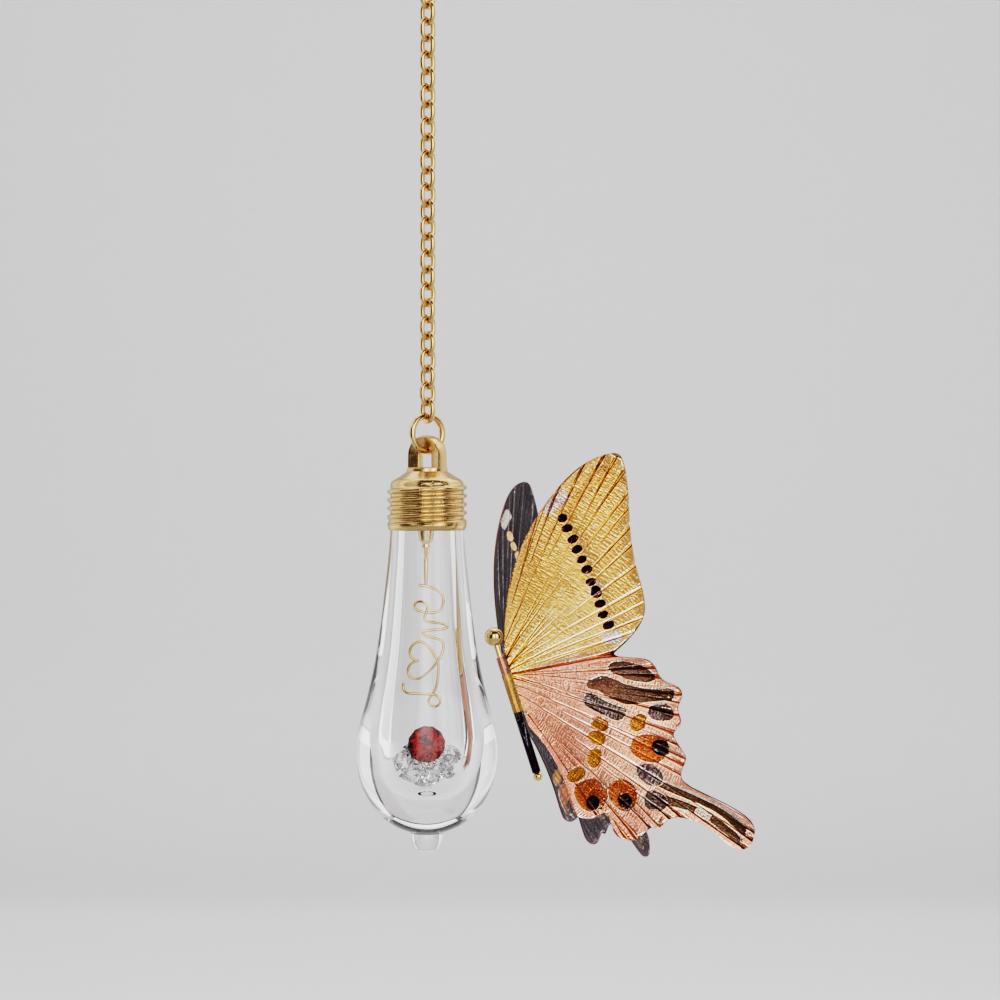
I imported the product image and used Curve to trace the word Love to create the filament. Then I used screw part of my Edison bulb model and slightly modified it to match the product. After that I made a chain and attached it to the base of the Lightkeeper.
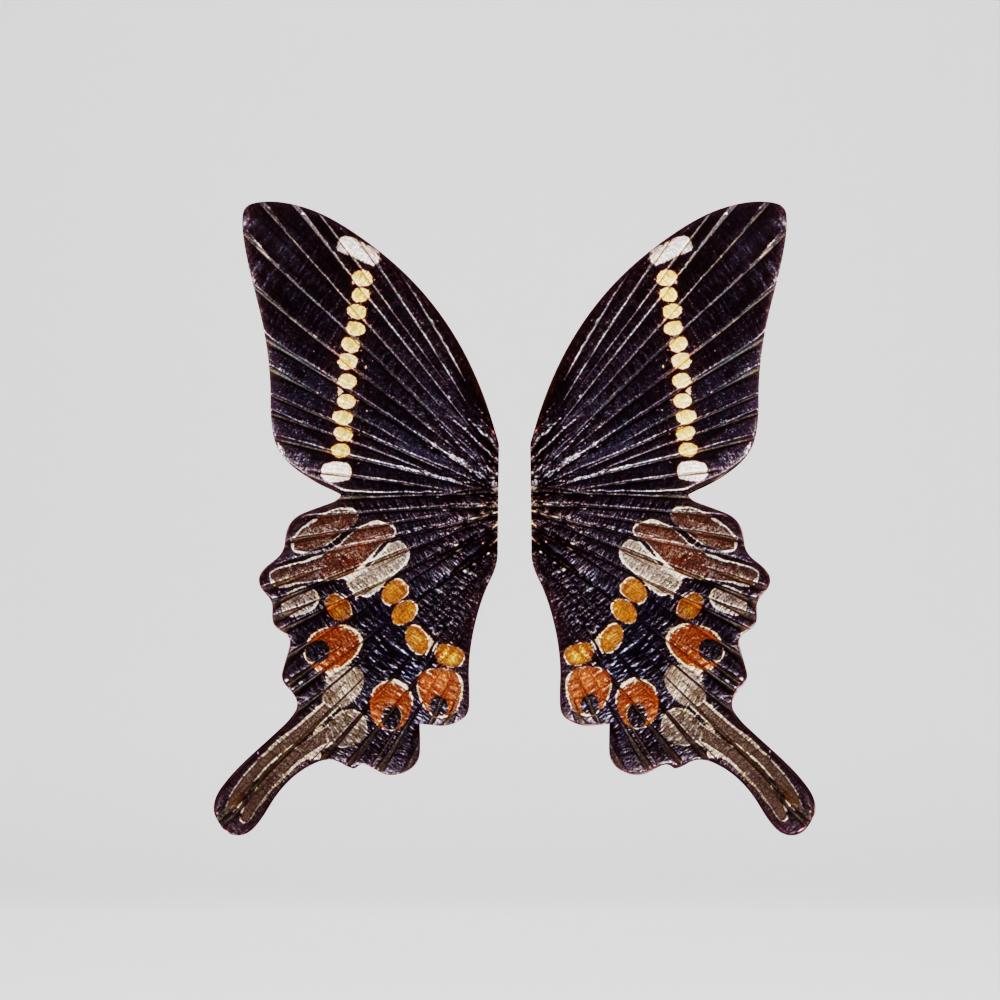
Building the Butterfly
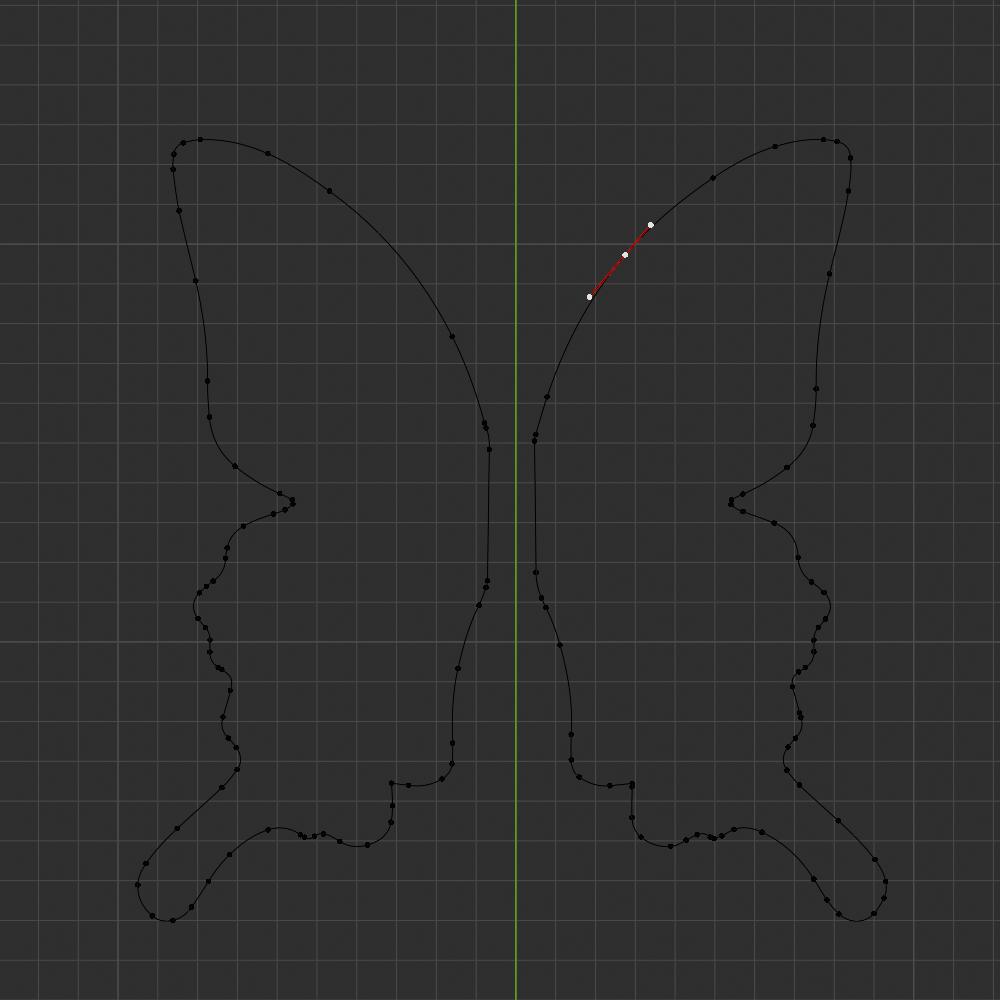
I used product image that shows both wings and in Illustrator I traced the shape of the wings. I saved file as SVG and imported to blender. Then extruded the curve and converted to mesh. Unwraped the model and made groups for the front and back side (since this piece has two different looks on the front and back). I have also applied slight bevel just to have nice reflection from the edges of the wings.
All I need now is to prepare texture in Photoshop. Using the same product image, I created color and bump maps. I made metallic material and applied all the textures.
I modeled a hinge for the wings and the head-body of the butterfly. I added simple rig to the wings for easier posing and placed it next to the Lightkeeper.
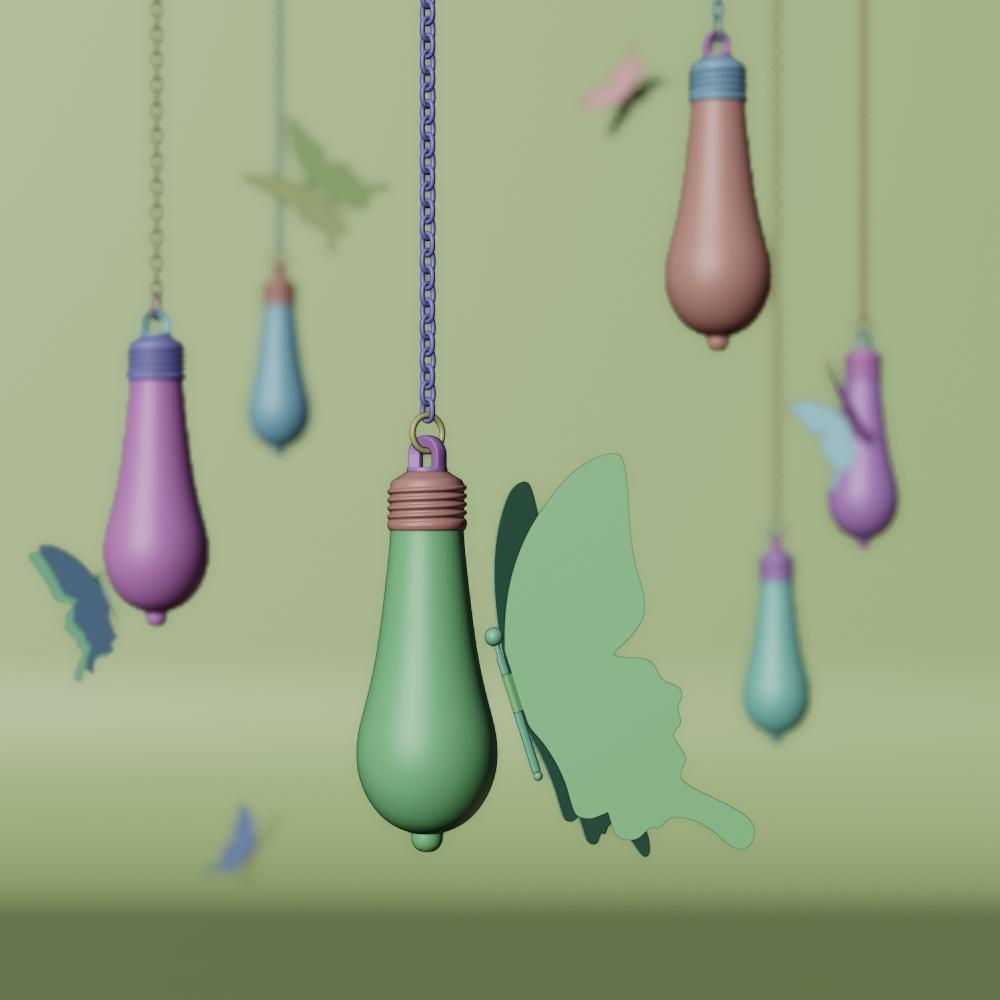
Setting up the composition
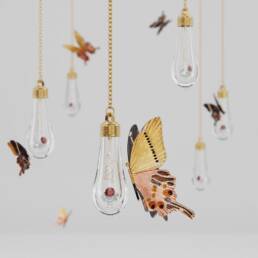
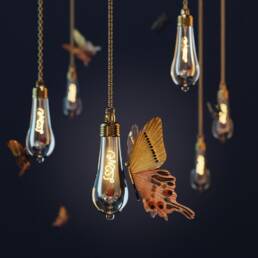
I made couple of duplicates of Lightkeepers and the Butterflies and position them roughly like they are in the sketch that client approved. I wanted focus of the scene to be on the front two elements. Since I built all the models in the life size proportion, I set up camera to 100mm and camera aperture to f21. That gave me nice depth of field and a soft background elements.
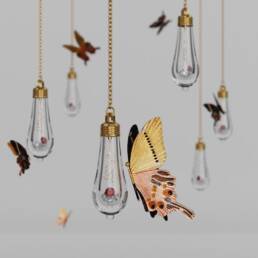
Setting up the lights
Overall light is done by studio HDRI image. But I wanted visually more interesting reflections on the metal and glass parts. So I added more area lights. One straight over the scene to cover the dark spots on top of the models. Then two more, left and right of the scene. That also helped contouring the glass element of the Lightkeeper.
Consulting with the client
I sent my render to the client and we analyzed it. Even it was a nice image, it lacked the Pop effect. They wanted to make it more striking. This looked like usual stock photo you have seen many times over on the internet. It needed to have some magical element to it and I sincerely agreed to their opinion.
They asked me if I can make filament “Love” in the Lightkeeper glow. I found that as brilliant idea so I get back to work to test it.
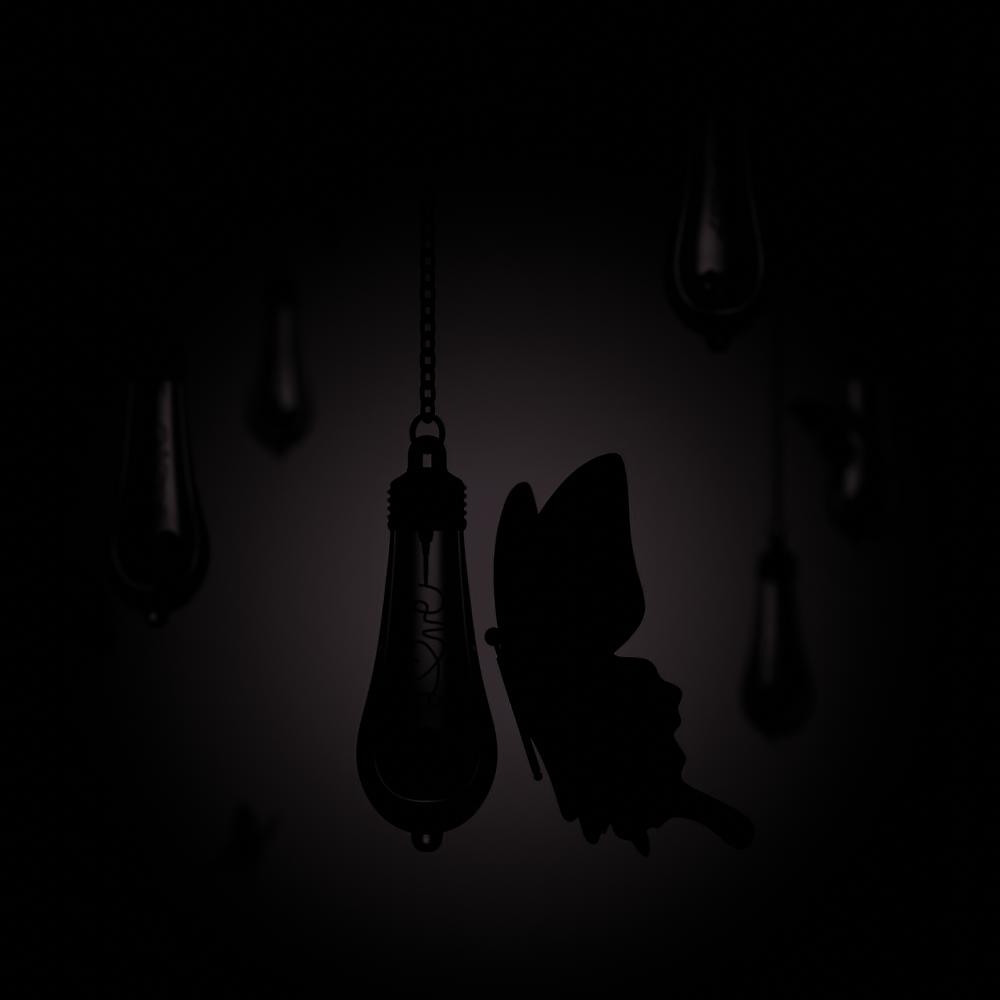
Changing the mood to dark
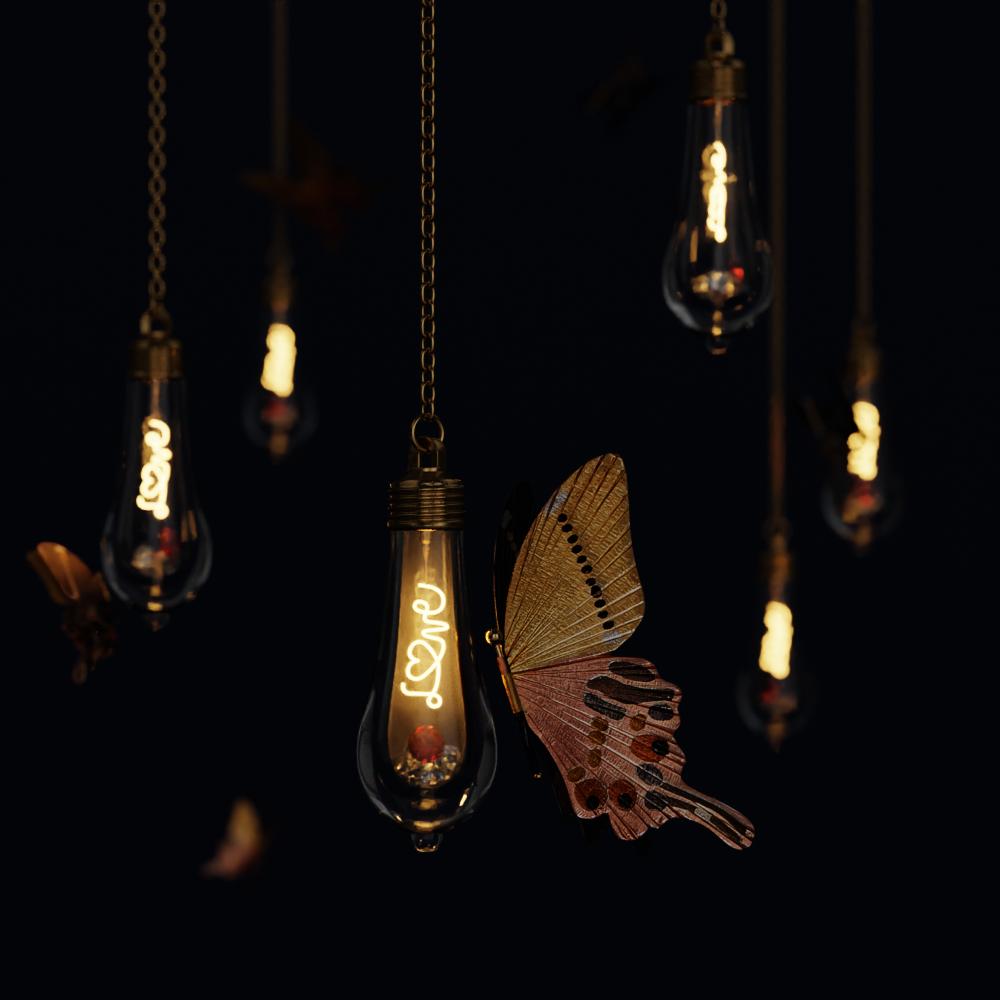
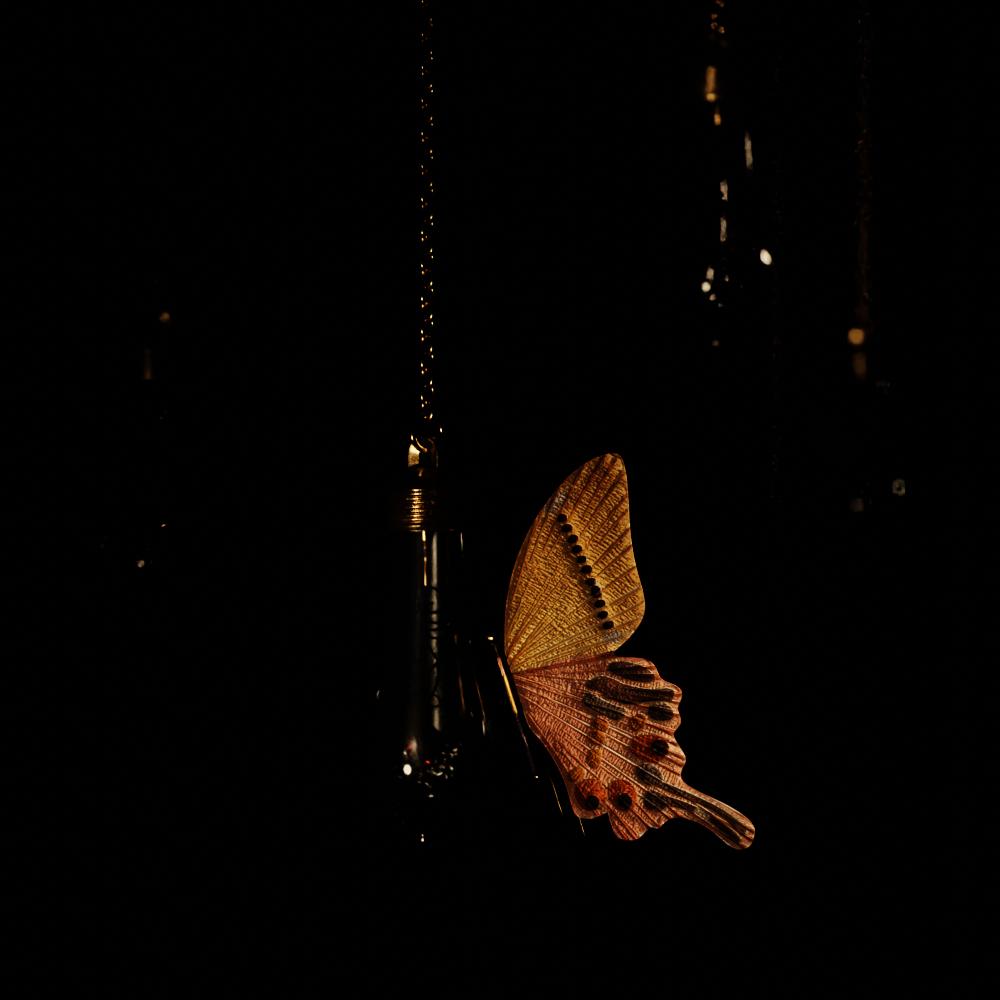
I needed to start from scratch building lights. As first step I disabled all the lights in the scene except environment HDRI light (with very low power 0.1). I assigned new Emission material to the “Love” filament and set emission color to soft orange/yellow.
One tip: To get a glowing bulb effect you can assign additional glass material for the inside of the bulb and set roughness to 0.10-0.20. Light rays bumping of the rough surface will spread nicely inside the bulb. I did that only for a front bulb and you can see the difference between front and back bulbs.)
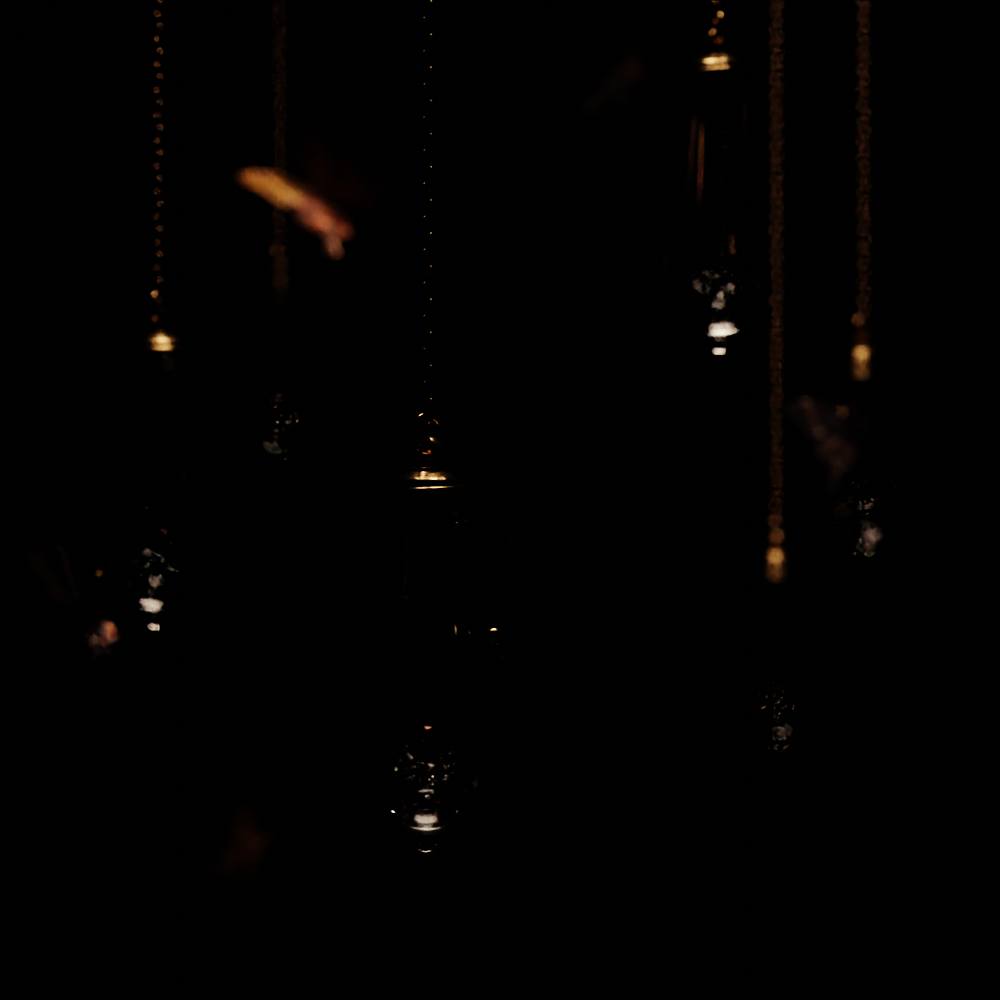
This is good starting point for the filament and environment light. Now it is time to build on the other lights in the scene. There will be 6 more lights in the scene and I made renders with each light turned on separately, to show how they affect the scene.
Spot light on the background: Adds a hallo effect behind the main subject.
Spot light from above: Adds reflections on top of the surfaces and lights up butterflies in the background.
Spot light from front: Illuminates the main subject – butterfly.
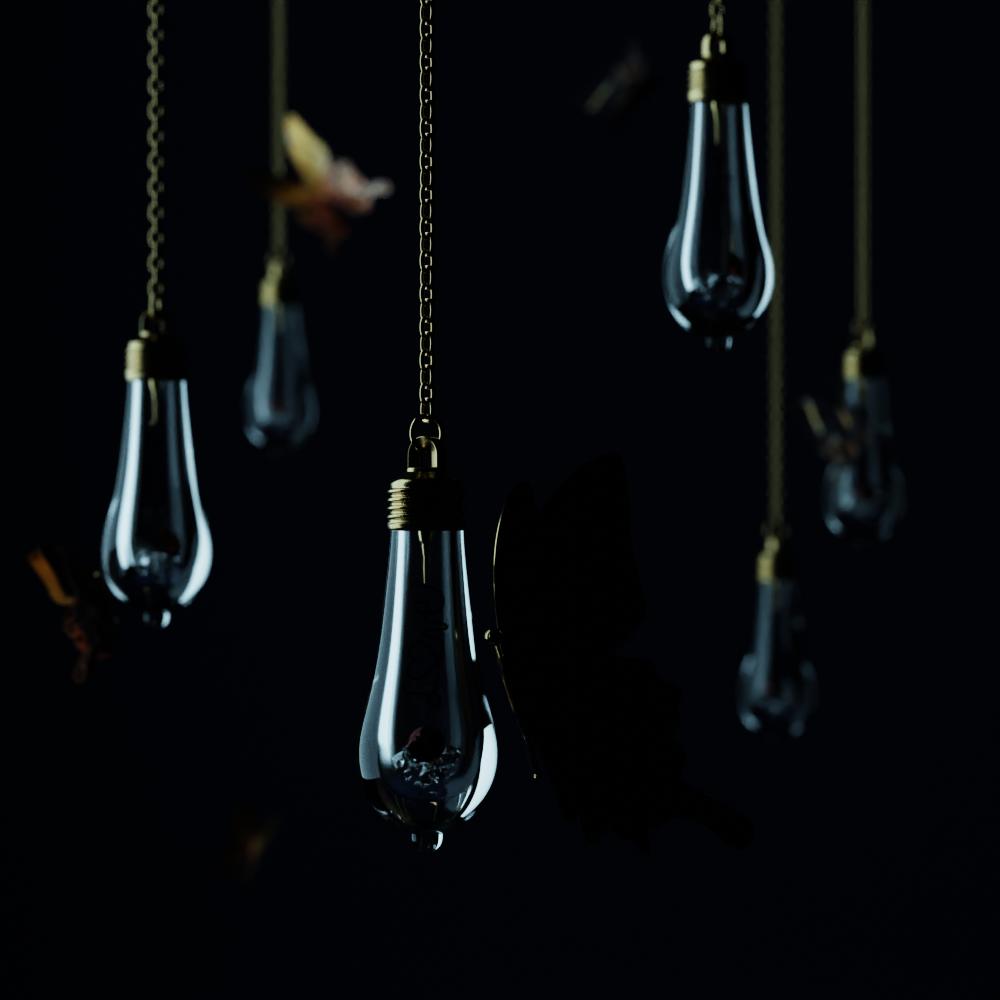
Area light on the left: Blue color light that shows reflection on the glass elements of the Lightkeeper.
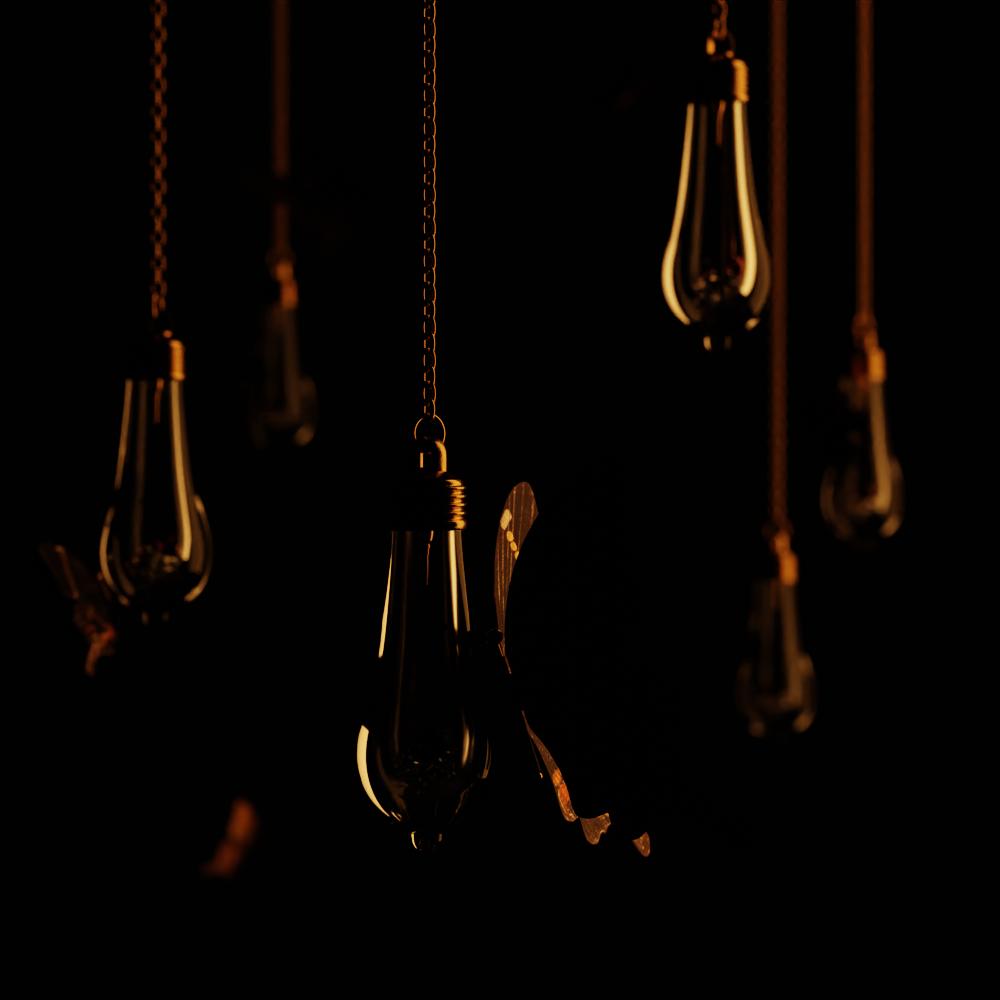
Area light on the right: Orange color light that shows reflection on the glass elements of the Lightkeeper.

Spot light from behind right side: Adds reflections to the back side of the main butterfly.
And to disperse light more and to add little bit of atmosphere I added cube encompassing my scene with Principled Volume material. Here is the render with all the lights with and without Principled Volume.
Going a step further
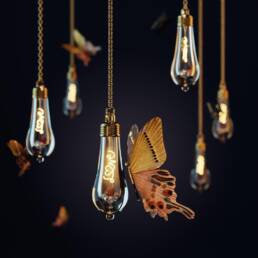
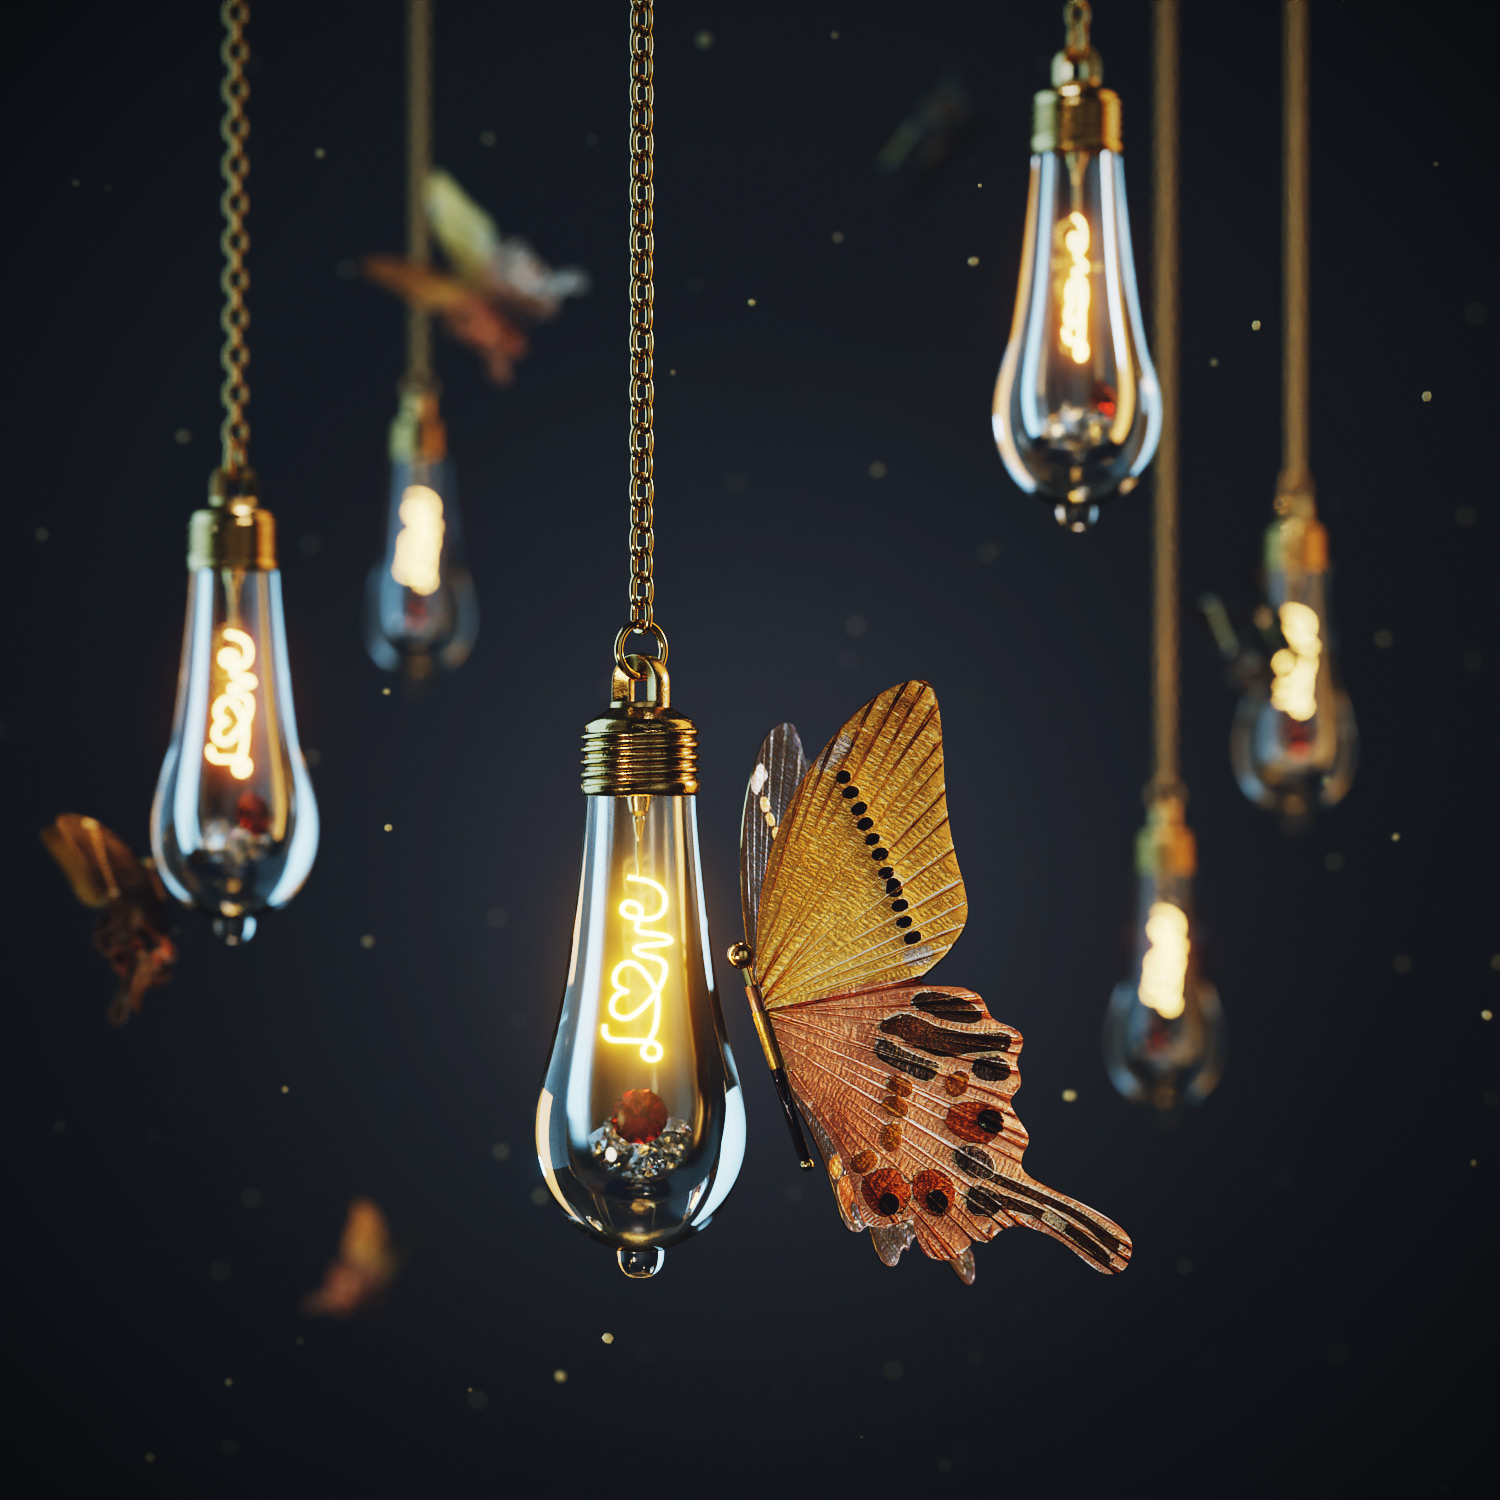
To add a little magical touch to the scene, I added animated particle system inside the cube to simulate fairy dust floating in the air. And for a final render I connected Glare node in Compositor for a soft glow around brightest parts. I tried grading the image in Blender but at the end I did it in the Photoshop.

And voila. Time to send to client and get a feedback.
After the feedback
Client loved my work. They had some concern about perceiving the image as false advertisement since “Love” filament does not actually glow. All left to do is small loop animation of swaying Lightkeeper on the chain and butterfly wings. Slightly rotating camera around the product added a little change in the perspective and depth to the scene. I also add flickering light to the Lightkeeper to make it more interesting.
Here is the final video